A real before-and-after example
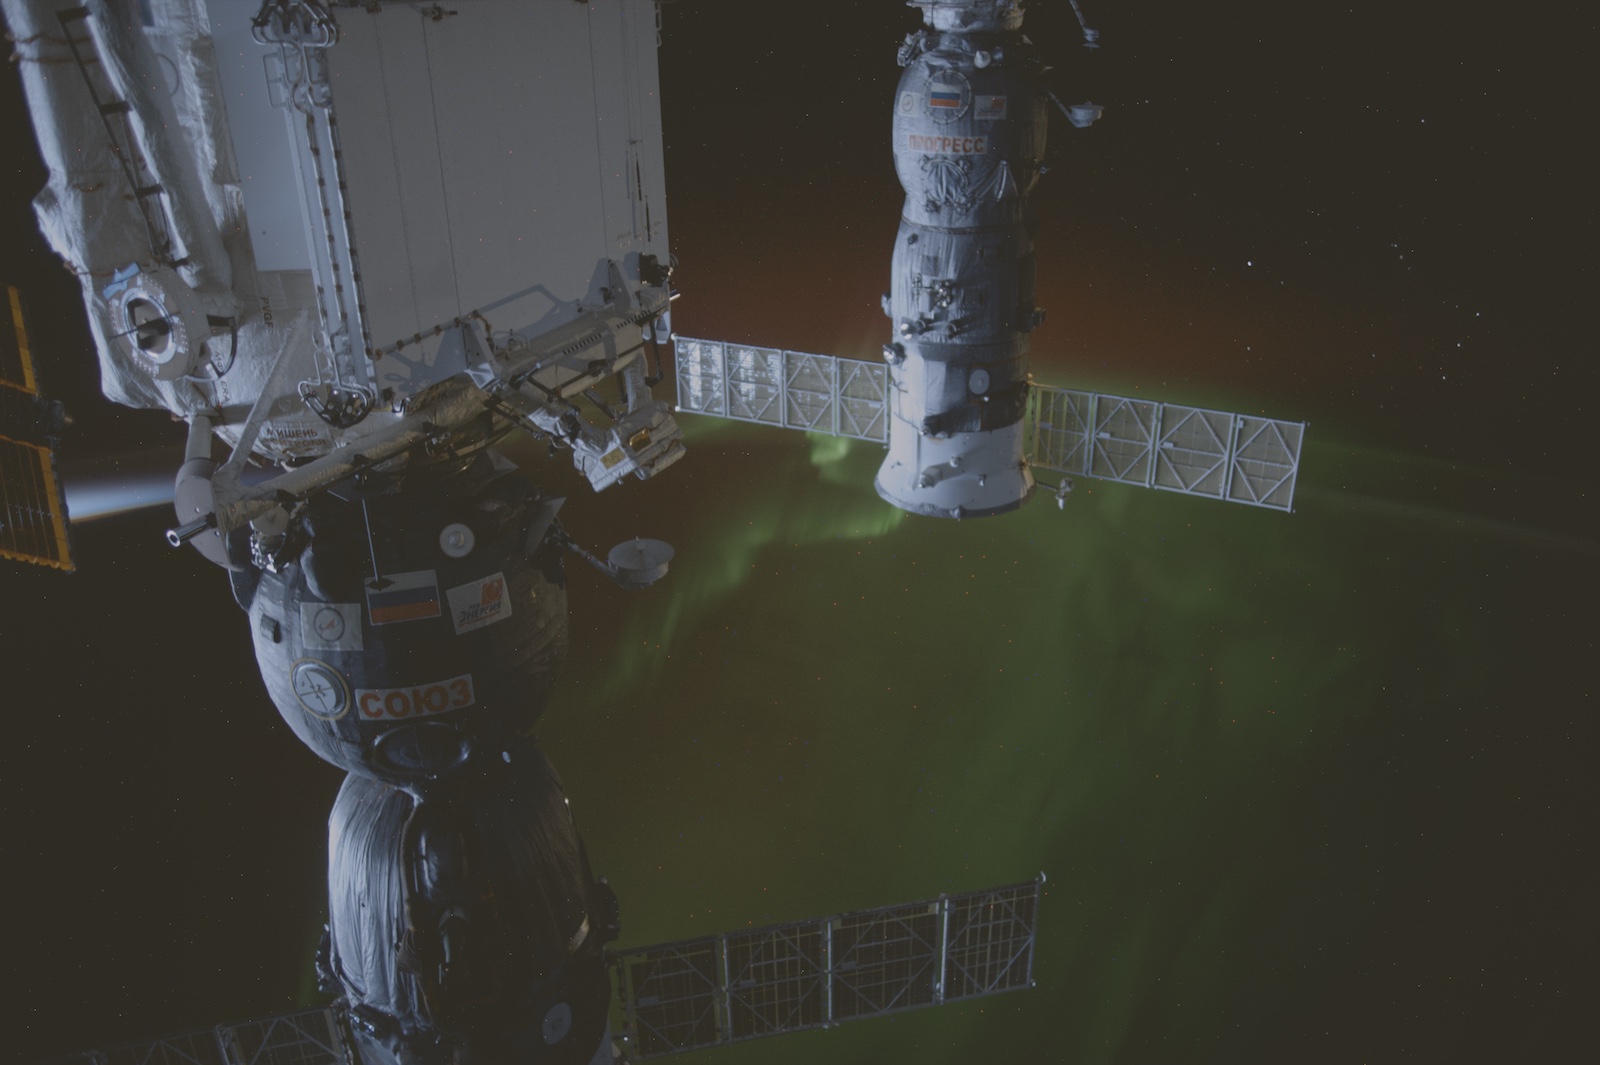
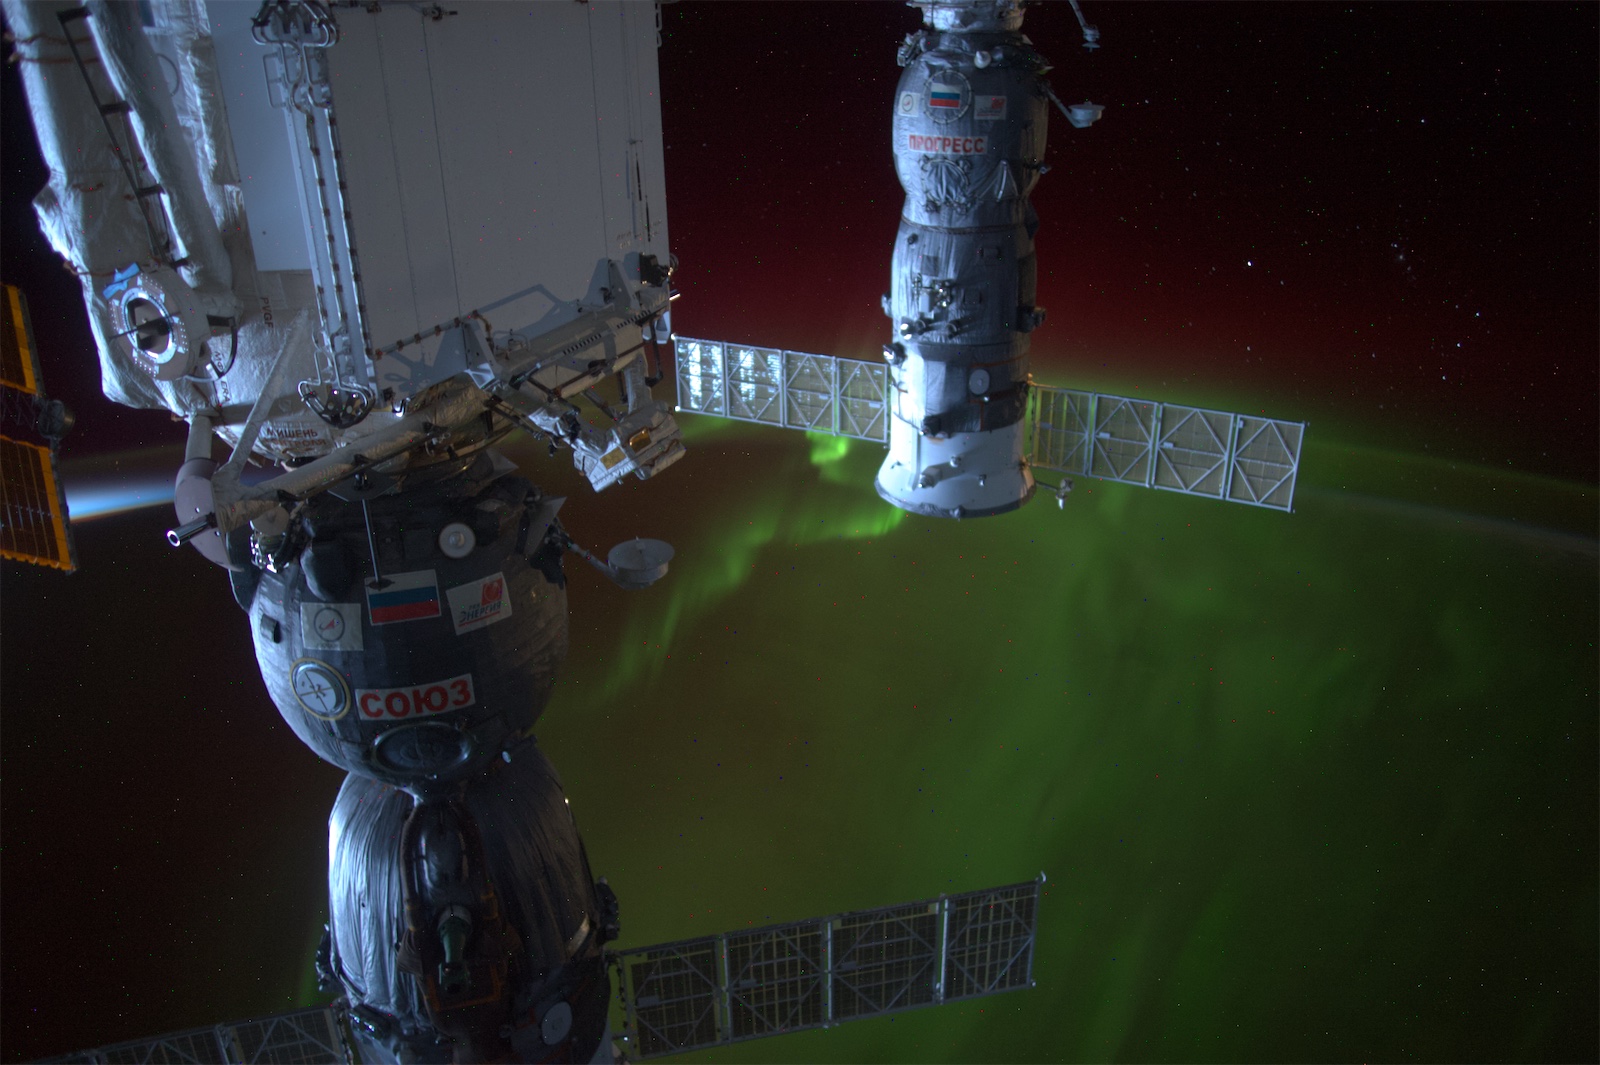 BeforeFilm
Source: NASA / ISS042-E-297200. Both views were rendered from the same NEF with PhotoFold’s current engine, then saved as web JPEGs. “Before” is a decoded RAW preview, not an unprocessed sensor image.
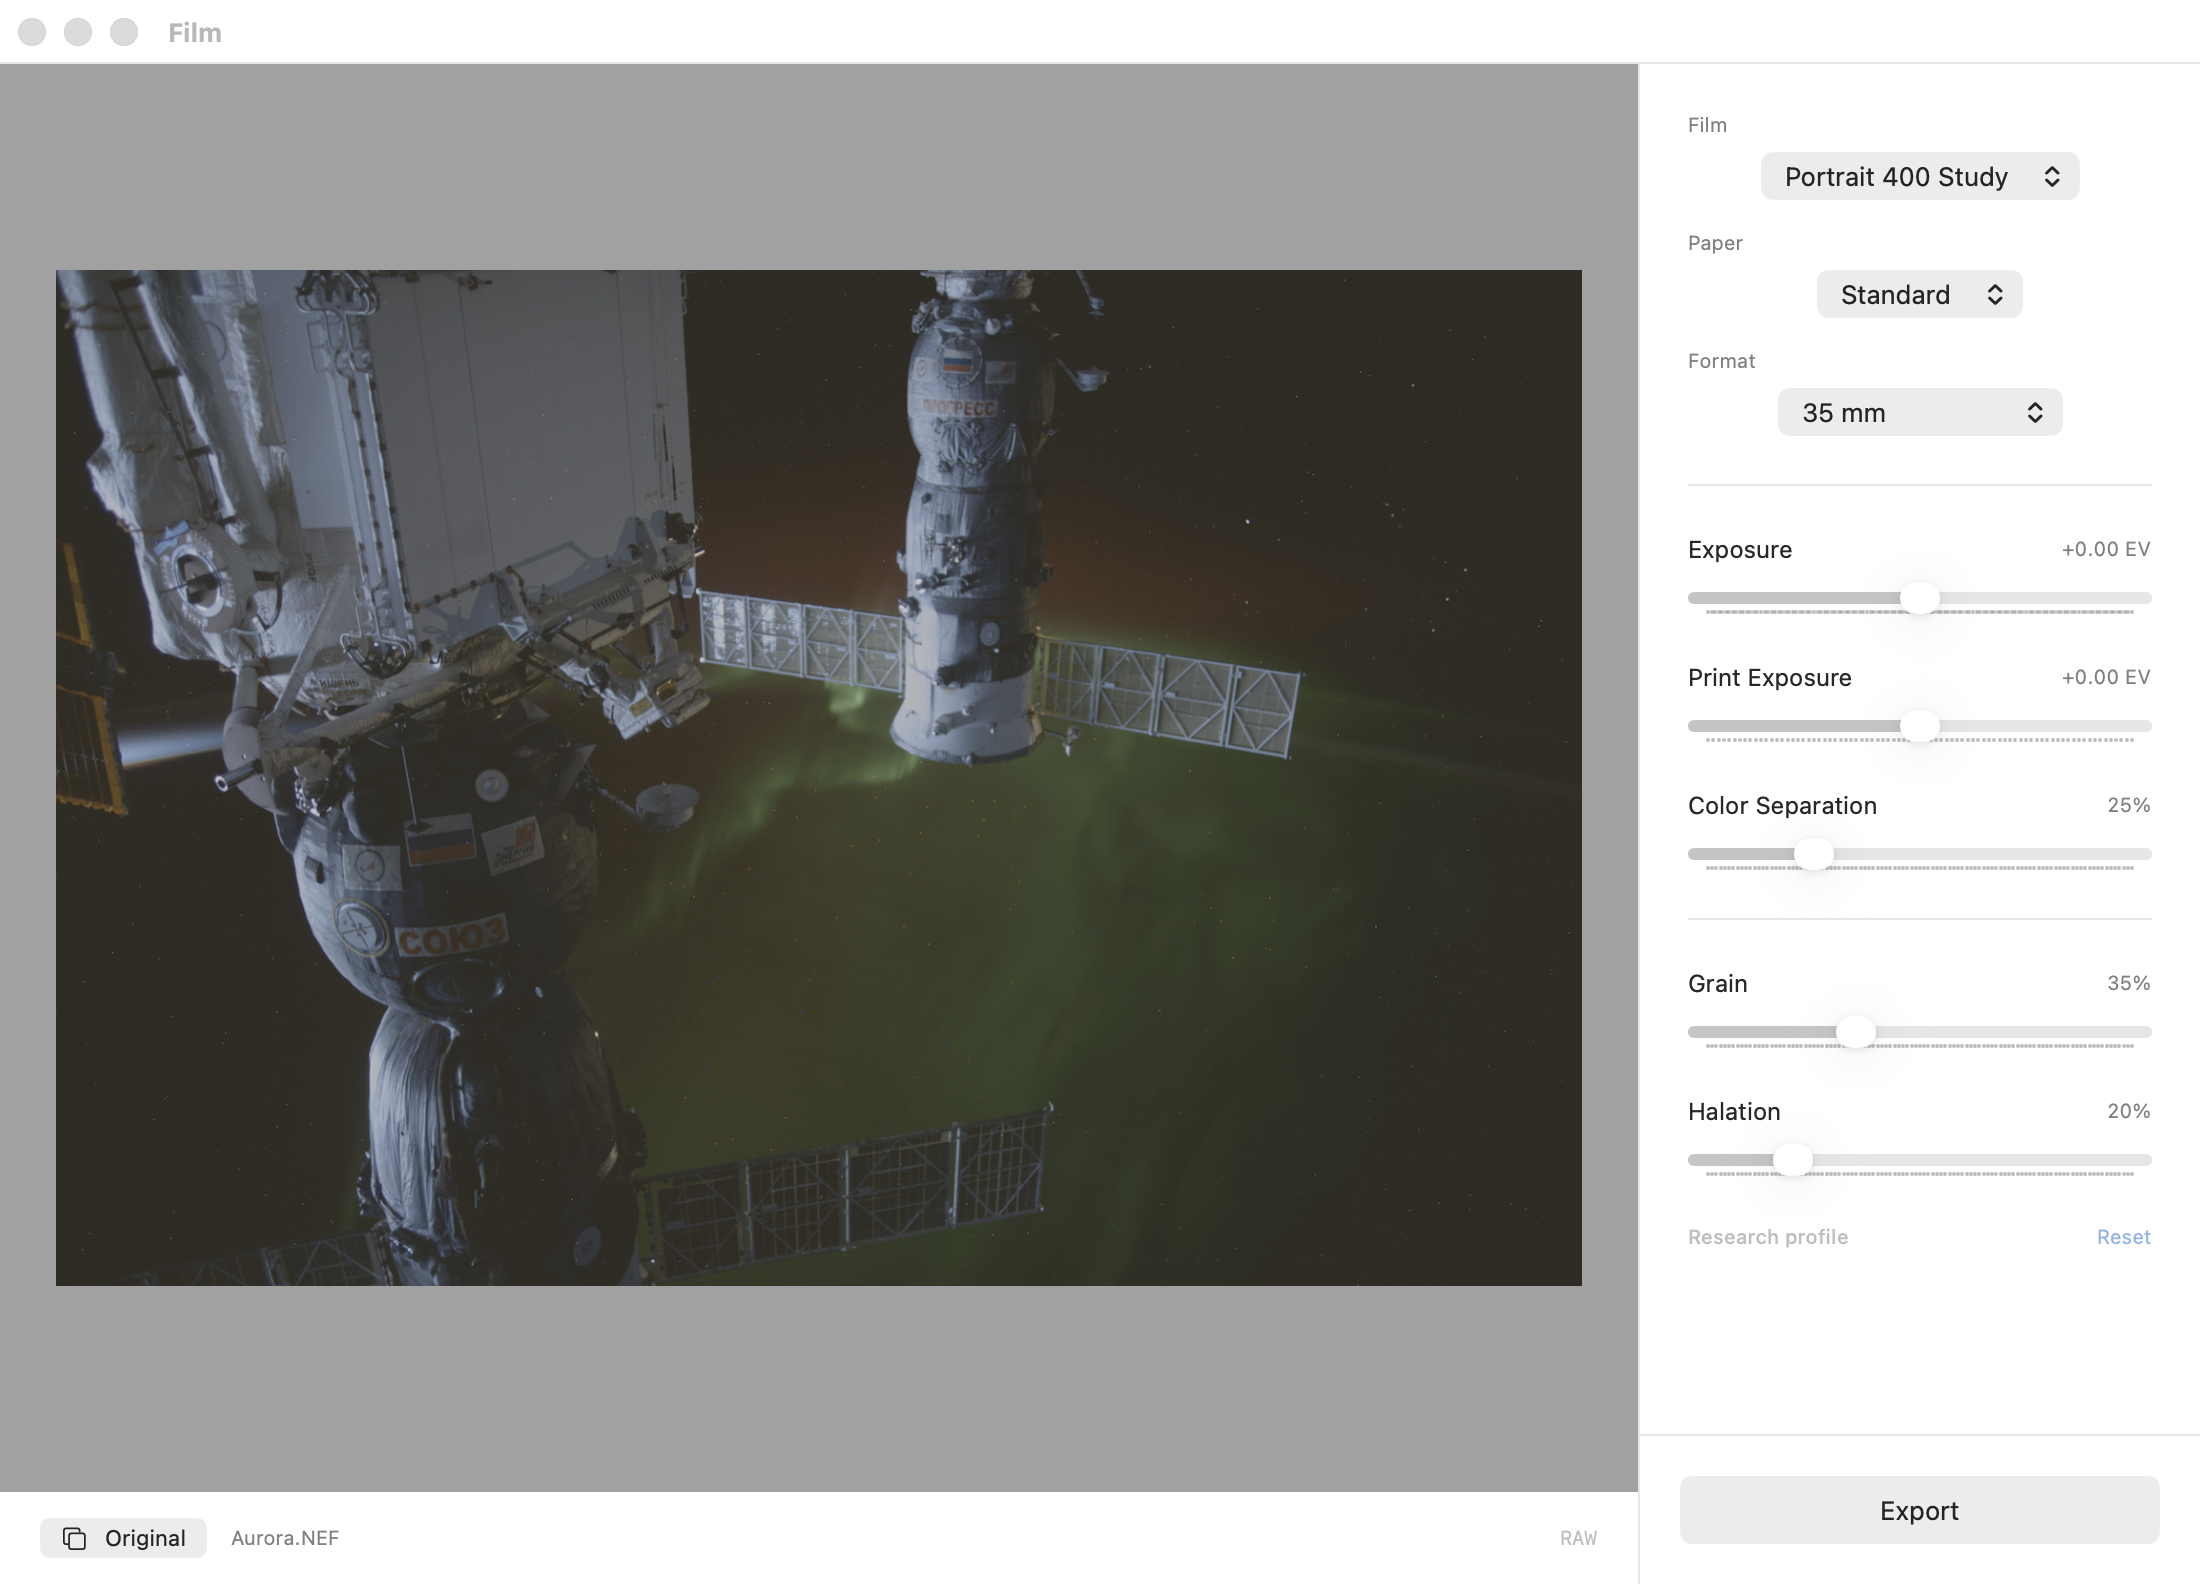
This example uses Portrait 400 Study, Standard paper, 35 mm format, Exposure 0 EV, Print Exposure 0 EV, Color Separation 25%, Grain 35%, and Halation 20%. The source is a night-time space-station image, not a skin-tone calibration target. The result demonstrates this scene only.
Download the RAW-preview JPEG · Download the film-preview JPEG
1. Open a RAW photo in Film
Add the folder containing your RAW file, select one available photo, then click Film or choose Film… from its context menu. JPEG is not supported by the Film editor. RAW compatibility depends on the camera format supported by macOS.
2. Choose the materials and exposure
| Control | What it changes | A useful starting point |
|---|---|---|
| Film | The modeled color or monochrome response | Portrait 400 Study for the current portrait-film research profile |
| Paper | The modeled print response | Compare Standard and Soft before adding other adjustments |
| Format | The model’s 35 mm or medium-format setting | Compare grain appearance at the same viewing size |
| Exposure | Exposure entering the film model | Start at 0 EV; adjust in small steps while watching highlights |
| Print Exposure | Exposure in the modeled printing stage | Start at 0 EV, then compare the resulting print tones |
| Color Separation | Modeled interaction between color layers | Keep the default initially; it is disabled for Mono 400 |
| Grain | The strength of simulated grain | Judge texture at a useful zoom level, not only in a tiny preview |
| Halation | The strength of simulated light spread around bright regions | Use restrained values and inspect bright edges |
3. Compare with Original
Use Original to compare the decoded RAW preview with the film result. Change one control at a time: first materials, then exposure, then texture. Reset returns the controls to their defaults.
Look at highlight detail, shadow separation and color relationships. A brighter or grainier image is not automatically a more faithful film simulation. Exposure and Print Exposure operate at different stages, so they are not interchangeable brightness controls.
4. Export the result
Click Export, choose the destination, and wait for completion. The Film workflow exports a 16-bit TIFF. Open it to check the full-size image. The source RAW stays unchanged; importing the original file elsewhere does not apply this rendering.
What this model does—and does not—claim
Portrait 400 Study is an independent research interpretation informed by published response and sensitivity data. Dyes, paper and chemistry still include model assumptions. It is not a measured replica of a particular Portra 400 exposure, lab process or scan, and is not affiliated with Kodak.
These website JPEGs are compressed previews, not the 16-bit TIFF export. Different RAW files, exposure settings and displays can produce very different results.